Currently Empty: 0 CFA


Welcome To Autocad
1. The AutoCAD Workspace
When you first open AutoCAD, the interface might look complex, but it’s built around a few key areas:
-
Drawing Area: The large, central space where you create your drawing. This is your digital canvas.
-
Command Line: This is your most important tool! It’s at the bottom of the screen. You can type commands here (like
LINE,CIRCLE,MOVE) and AutoCAD will respond with prompts. Always keep an eye on the command line. -
Ribbon: The strip across the top containing tabs (Home, Insert, Annotate, etc.) and panels full of tool icons. This is a visual way to access commands.
-
Application Menu (The Big Red ‘A’): The button in the top-left corner. Here you can find file operations like New, Open, Save, Print, and Exit.
-
Status Bar: The bar at the very bottom. It shows and allows you to toggle important drawing aids like SNAP, GRID, ORTHO, and OSNAP (more on these later).
2. The Fundamental Concept: Co-ordinate System
AutoCAD uses a precise X, Y, Z coordinate system to place everything in space.
-
The origin point (0,0) is usually in the lower-left corner of the drawing area.
-
To draw a line, you can tell AutoCAD: “Start at point (2,3) and end at point (5,7).” This ensures absolute precision.
There are two main types of coordinates:
-
Absolute Coordinates:
X,Y(e.g.,5,7means 5 units over on the X-axis and 7 units up on the Y-axis from the origin (0,0)). -
Relative Coordinates:
@X,Y(e.g.,@3,4means “from my last point, go 3 units right and 4 units up”).
3. Your First Essential Commands
You can type these in the command line or click their icons in the Home tab on the Ribbon.
-
LINE (
L): Draws straight line segments. TypeL→ pressEnter→ click a point → click another point → pressEnterto finish. -
CIRCLE (
C): Draws a circle. The default method is to specify a center point and then a radius. -
RECTANGLE (
REC): Draws a rectangle. You simply specify two opposite corners. -
ERASE (
E): Deletes objects. TypeE→ pressEnter→ select the objects you want to delete → pressEnteragain. -
SAVE (
Ctrl + S): Save your work! Do this early and often.
Pro Tip: Use the Modify commands just as much as the Draw commands. Design is about creating and changing.
-
MOVE (
M) -
COPY (
CO) -
ROTATE (
RO) -
TRIM (
TR)
4. Crucial Drawing Aids (Status Bar Toggles)
These tools on the status bar make drawing accurately much easier.
-
SNAP (
F9): Forces your cursor to move in specific increments (e.g., every 1 unit). -
GRID (
F7): Displays a grid of dots on the screen for visual reference. It’s like graph paper. -
ORTHO (
F8): CRITICAL FOR BEGINNERS. Restricts cursor movement to horizontal and vertical directions only. Turn this on when you need to draw straight lines. -
OSNAP (Object Snap) (
F3): The most important aid. This allows you to snap to exact points on existing objects, like:-
Endpoint: Snaps to the end of a line.
-
Midpoint: Snaps to the middle of a line.
-
Center: Snaps to the center of a circle.
-
Intersection: Snaps where two objects cross.
-
Make sure OSNAP is always on! Right-click the OSNAP button to configure which points you want to snap to.
-
5. A Simple Practice Exercise: Draw a Window
Let’s use the basics to draw a simple rectangular window.
-
Turn On: Turn on ORTHO and OSNAP on the status bar.
-
Draw the Outer Frame: Type
REC(for RECTANGLE) and pressEnter.-
Click anywhere in the drawing area to place the first corner.
-
Move your mouse and type
@24,36(This means a rectangle 24 units wide and 36 units tall). PressEnter.
-
-
Draw the Inner Panes: We’ll use the
OFFSETcommand.-
Type
O(for OFFSET) and pressEnter. -
Type
2as the offset distance and pressEnter. -
Click the rectangle you just drew, then click inside the rectangle. Press
Enterto finish. -
You now have a smaller, inner rectangle.
-
-
Draw a Muntin (the cross-bar): Type
L(for LINE) and pressEnter.-
Hover over the midpoint of the left side of the inner rectangle until the “Midpoint” snap marker (a triangle) appears. Click.
-
Hover over the midpoint of the right side until the marker appears. Click.
-
Press
Enterto end the LINE command.
-
-
You’re done! You’ve used several basic commands and drawing aids.
Next Steps & Best Practices
-
Layers: Your next big concept. Layers are like transparent sheets. You put different parts of your drawing on different layers (e.g., a “Walls” layer, a “Doors” layer, a “Dimensions” layer). This keeps you organized and allows you to control visibility. The command is
LAYER(orLA). -
Zoom and Pan: Use your mouse scroll wheel to zoom in and out. Press and hold the scroll wheel to pan around your drawing.
-
Practice: The only way to learn is by doing. Try to draw the floor plan of a simple room in your house.
Course Content
ok
-
01:39:25
-
commands
Student Ratings & Reviews

No Review Yet

Courses You May Like
Intermediate
ULTIMATE DECEMBER STRUCTURAL ANALYSIS TRAINING
Original price was: 500 000 CFA.50 000 CFACurrent price is: 50 000 CFA.
Intermediate
ULTIMATE DECEMBER STRUCTURAL ANALYSIS TRAINING
Original price was: 500 000 CFA.50 000 CFACurrent price is: 50 000 CFA.
Attention, aspiring structural engineers and drafters!This December, I am leading an exclusive, in-person training for only 20 serious students who want to master Structural Analysis and Design.What you will...
Enroll Now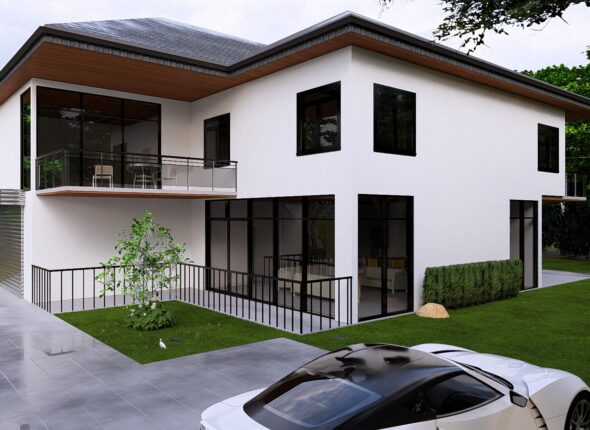
Intermediate
Mastering Duplex Exterior Design With Lumion
Original price was: 300 000 CFA.25 000 CFACurrent price is: 25 000 CFA.
Intermediate Enroll Now
Mastering Duplex Exterior Design With Lumion
Original price was: 300 000 CFA.25 000 CFACurrent price is: 25 000 CFA.

Intermediate
Bungalow Plumbing Course
Original price was: 300 000 CFA.25 000 CFACurrent price is: 25 000 CFA.
Intermediate Enroll Now
Bungalow Plumbing Course
Original price was: 300 000 CFA.25 000 CFACurrent price is: 25 000 CFA.
Intermediate
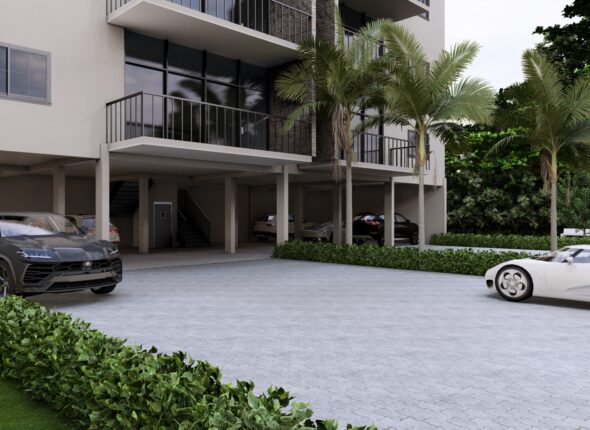
Mastering Exterior Design Of A Residentail Complex In Lumion
Original price was: 400 000 CFA.25 000 CFACurrent price is: 25 000 CFA.
Intermediate Enroll Now
Mastering Exterior Design Of A Residentail Complex In Lumion
Original price was: 400 000 CFA.25 000 CFACurrent price is: 25 000 CFA.
Intermediate
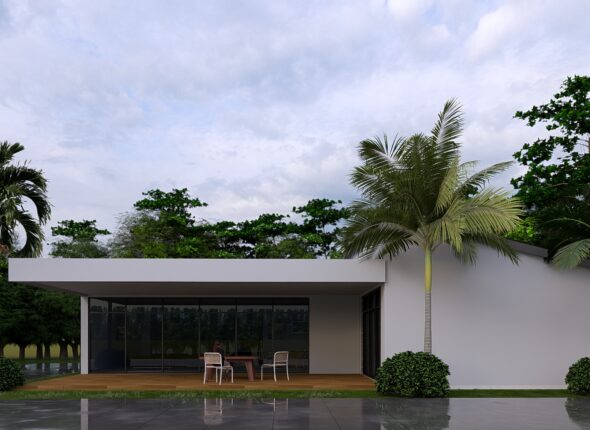
Master Bungalow Exterior Design with Lumion
Original price was: 300 000 CFA.25 000 CFACurrent price is: 25 000 CFA.
Intermediate Enroll Now
Master Bungalow Exterior Design with Lumion
Original price was: 300 000 CFA.25 000 CFACurrent price is: 25 000 CFA.
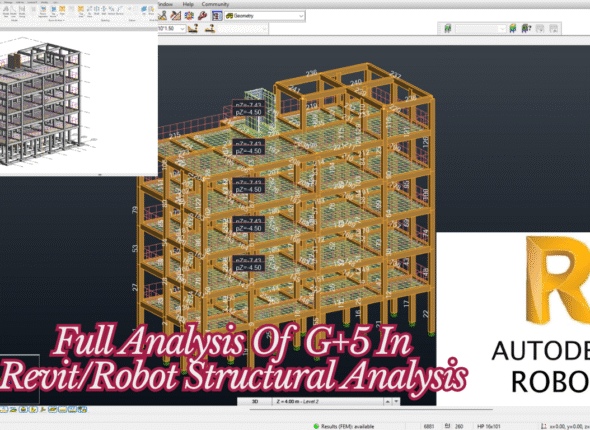
Intermediate
Analyse A G+5 In Robot Structural Analyses
Original price was: 400 000 CFA.25 000 CFACurrent price is: 25 000 CFA.
Intermediate Enroll Now
Analyse A G+5 In Robot Structural Analyses
Original price was: 400 000 CFA.25 000 CFACurrent price is: 25 000 CFA.
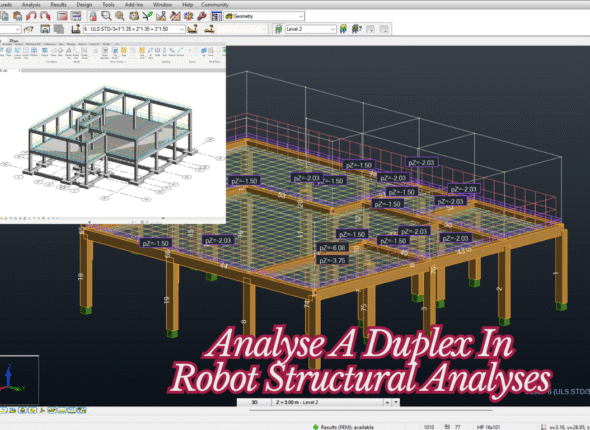
Intermediate
Analyse A Duplex In Robot Structural Analyses
Original price was: 400 000 CFA.25 000 CFACurrent price is: 25 000 CFA.
Intermediate Enroll Now
Analyse A Duplex In Robot Structural Analyses
Original price was: 400 000 CFA.25 000 CFACurrent price is: 25 000 CFA.
Beginner
Analyse A Bungalow In Robot Structural Analyses
Original price was: 300 000 CFA.25 000 CFACurrent price is: 25 000 CFA.
Beginner Enroll Now
Analyse A Bungalow In Robot Structural Analyses
Original price was: 300 000 CFA.25 000 CFACurrent price is: 25 000 CFA.
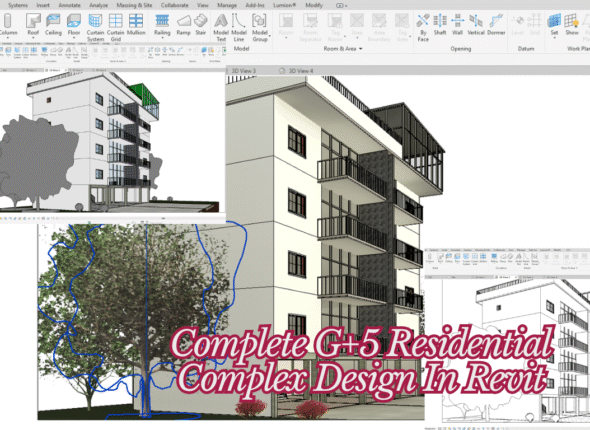
Intermediate
Complete G+5 Residential Complex Design In Revit
Original price was: 400 000 CFA.25 000 CFACurrent price is: 25 000 CFA.
Intermediate Enroll Now
Complete G+5 Residential Complex Design In Revit
Original price was: 400 000 CFA.25 000 CFACurrent price is: 25 000 CFA.

All Levels
Complete Bungalow Design in Revit
Original price was: 400 000 CFA.25 000 CFACurrent price is: 25 000 CFA.
All Levels
Complete Bungalow Design in Revit
Original price was: 400 000 CFA.25 000 CFACurrent price is: 25 000 CFA.
Learn Revit the best way—by building something! In this course, you'll design a complete bungalow from the ground up. We'll start with a blank page...
Enroll Now
Intermediate
Complete Duplex Design In Revit
Original price was: 300 000 CFA.25 000 CFACurrent price is: 25 000 CFA.
Intermediate Enroll Now
Complete Duplex Design In Revit
Original price was: 300 000 CFA.25 000 CFACurrent price is: 25 000 CFA.

Intermediate
Master Your Project with a Personal Tutoring Session
Original price was: 200 000 CFA.75 000 CFACurrent price is: 75 000 CFA.
Intermediate
Master Your Project with a Personal Tutoring Session
Original price was: 200 000 CFA.75 000 CFACurrent price is: 75 000 CFA.
Stuck on a specific challenge? Need guidance tailored directly to your project? Book a one-on-one session with our expert tutor and get the clarity you need...
Enroll Now